Rates
CSV Rate Table
|
|
|
|
|
|---|---|---|---|
|
Available Credit Limits
$10,000 - $250,000
|
Maximum LTV1
80%
|
Annual Percentage Rate2
6.75%
|
Effective Date
04/01/2026
|
|
Available Credit Limits
$250,001 - $500,000
|
Maximum LTV1
70%
|
Annual Percentage Rate2
7.25%
|
Effective Date
04/01/2026
|
|
Available Credit Limits
$500,001 - $750,000
|
Maximum LTV1
60%
|
Annual Percentage Rate2
7.25%
|
Effective Date
04/01/2026
|
Non-CSV Rate Table
|
|
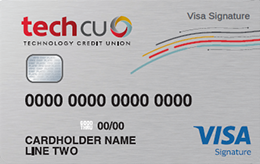
Visa Signature® |
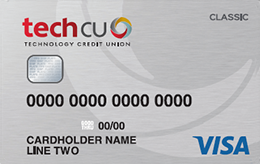
Visa Classic® |
Visa Classic® (Share Secured) |
|---|---|---|---|
|
Card Benefits |
Visa Signature® Earn 1.25 Rewards Points for every $1 spent on purchases, redeemable for travel, cash, merchandise and more! |
Visa Classic® Our lowest available interest rate among all Tech CU credit cards. |
Visa Classic® (Share Secured) Establish or rebuild your credit |
|
Additional Visa Benefits |
Visa Signature®
|
Visa Classic® Additional Visa benefits not offered on this card. |
Visa Classic® (Share Secured) Additional Visa benefits not offered on this card. |
|
Card Manager |
Visa Signature® ✓ |
Visa Classic® ✓ |
Visa Classic® (Share Secured) ✓ |
.png)
Usage Instructions:
To update via CSV file:
- Go to Content Management > Rates Uploader
- Select "Upload Rates CSV" button
- Click the Media Library button
- This will open a panel displaying the Media Library.
- Navigate into the "Rates" folder
- Here, you can either drag-and-drop a csv file, or you can click "Browse" and upload your file
- Note: Once you upload a file, it appears in the first tile next to the "Upload" tile. It will only remain in that position in this panel until you close it. Once you close it and reopen it, or if you go into the Media Library later, the rates are displayed alphabetically.
- Pro Tip: In the panel, or in the Media Library, if you want to see the full filename, just hover over the tile for a few seconds.
- Once your file is uploaded, select it, then click the "Select File" button, which will close the panel
- Click "Save" on the Rates Uploader page
- A confirmation message should appear in the lower left corner of your screen.
To manually change rates:
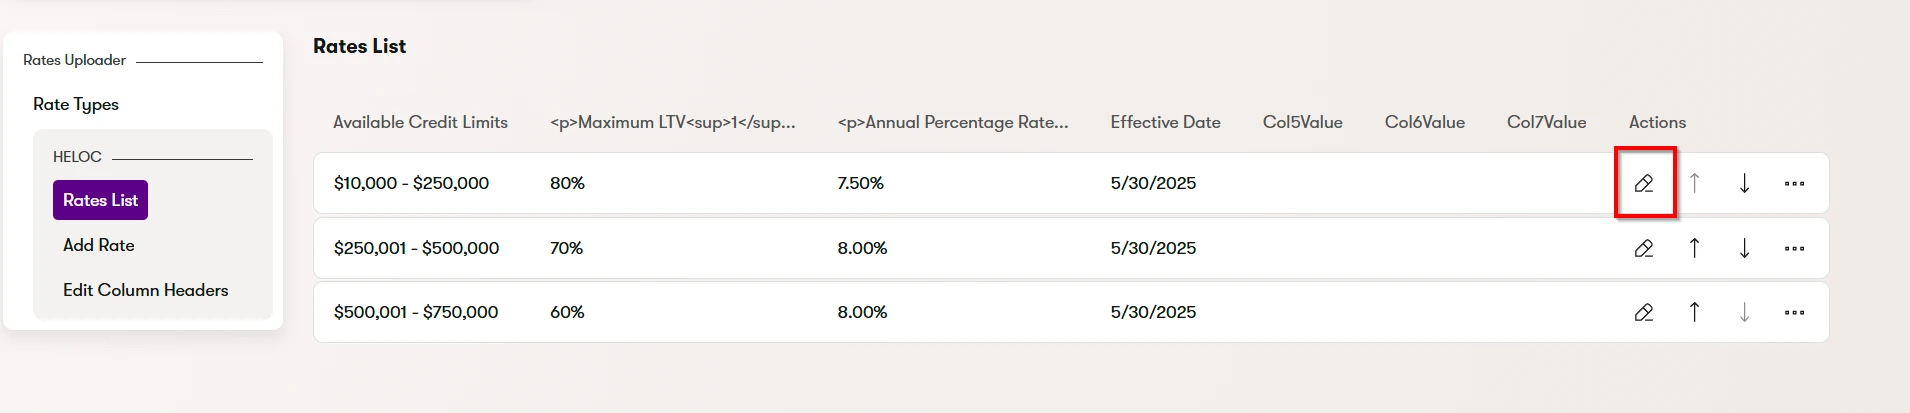
- Find the Rate table you want to edit (there is a search bar at the top if you know the Rate Type name) and click into that row
- Click the pencil icon on the row in which you want to make changes:
- To delete a row, click the three dots on the right and select Delete
- To add a row, Select "Add Rate" on the left:
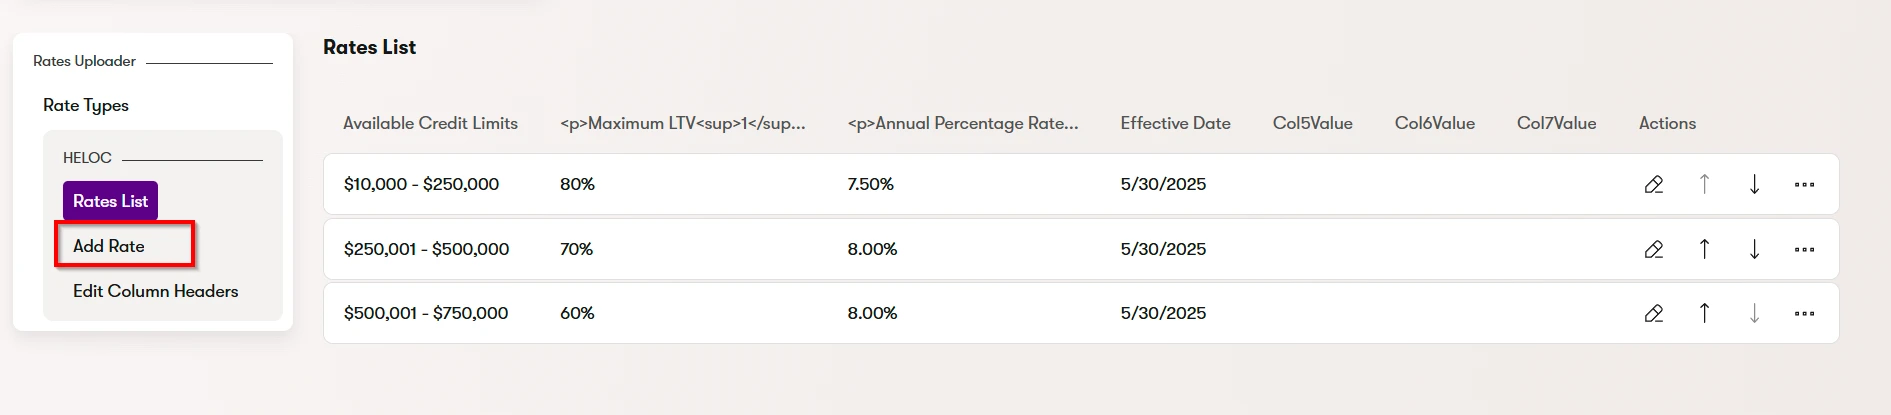
- Note: The new rate will appear at the bottom of the list. You can use the up and down arrow buttons on the right to reorder the list
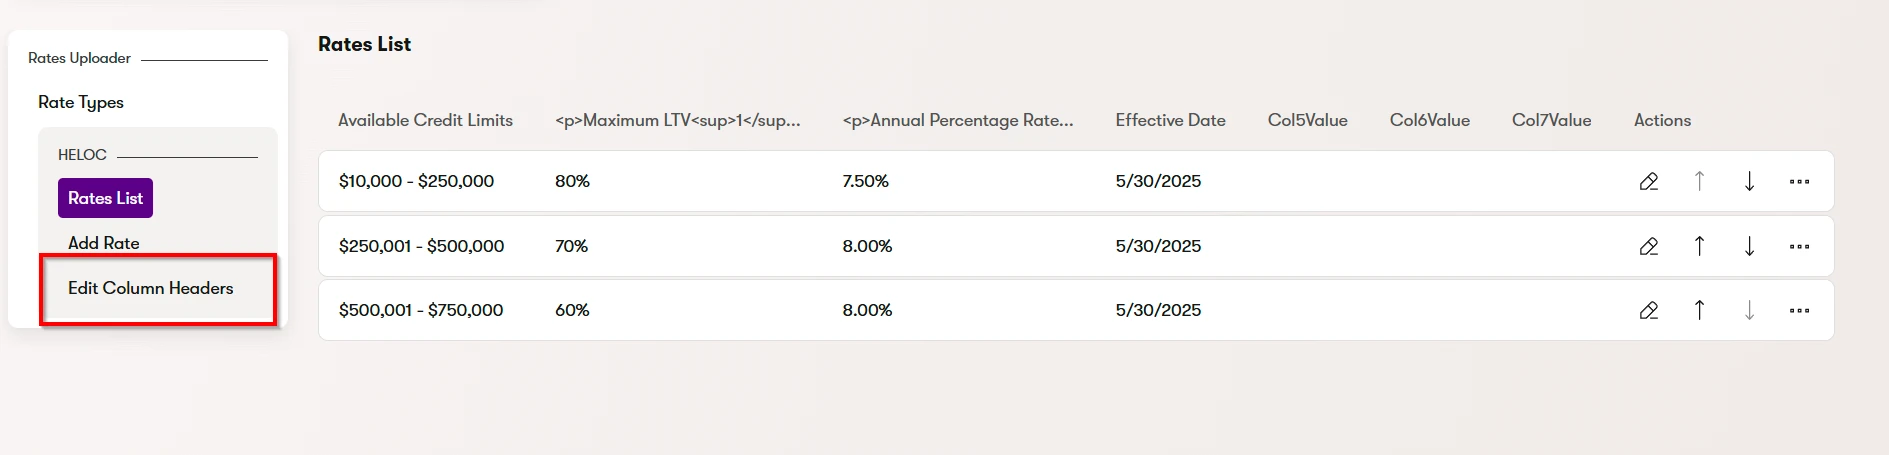
- To edit the Column headers, or to add disclosure/disclaimer copy (Footer text) to the Table, click "Edit Column Headers" on the left:
To sync rates to the live site:
- If you only have one table to sync and want it to go live immediately:
- Navigate to the Rates uploader under Content management
- Find the rate type that you need to sync to production
- Click the sync button to the right of that item
- Follow the regular sync instructions from here
- To schedule rate changes
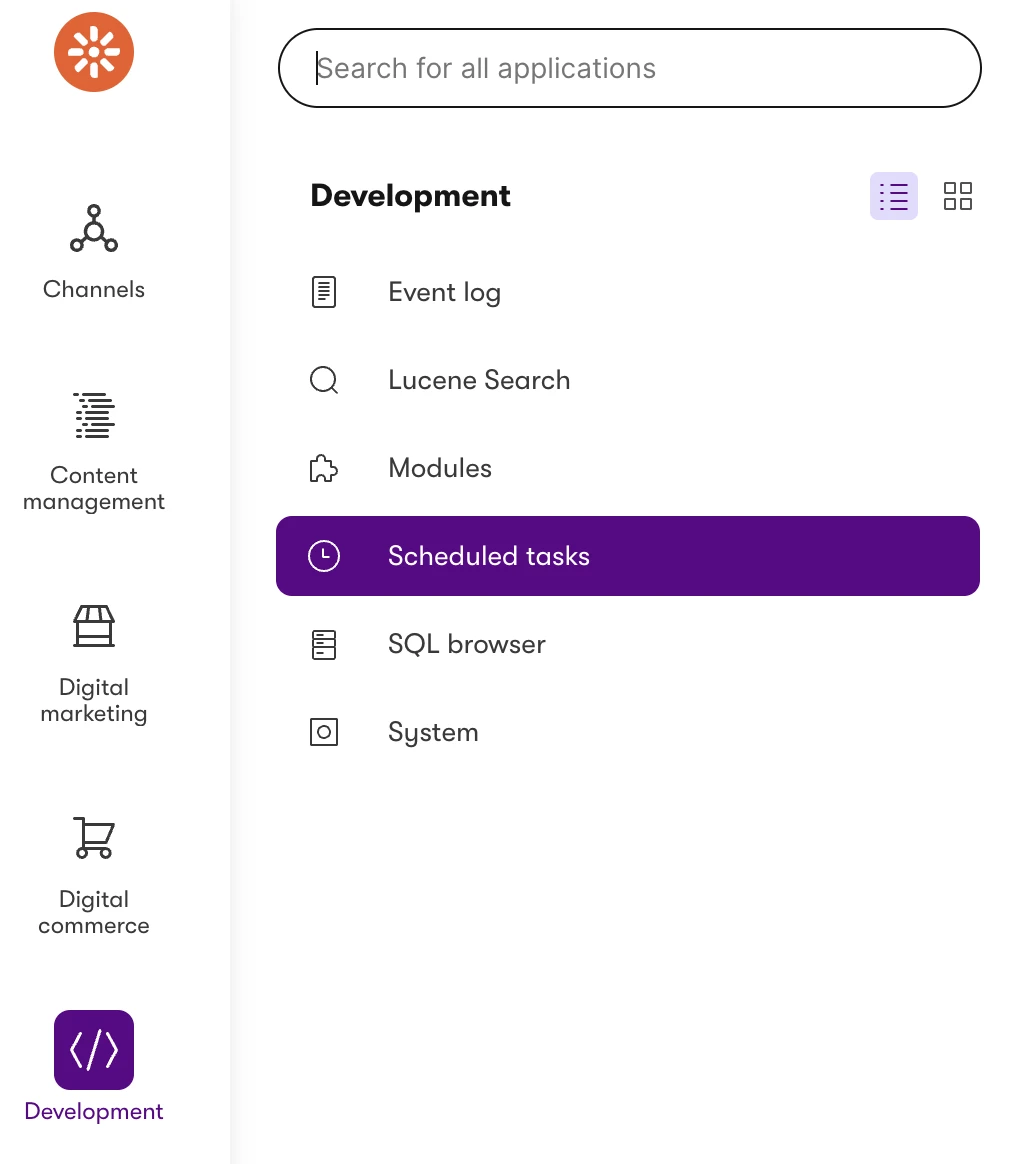
- Once you have completed uploading all CSV files/rates tables as needed, go to Development > Scheduled Tasks
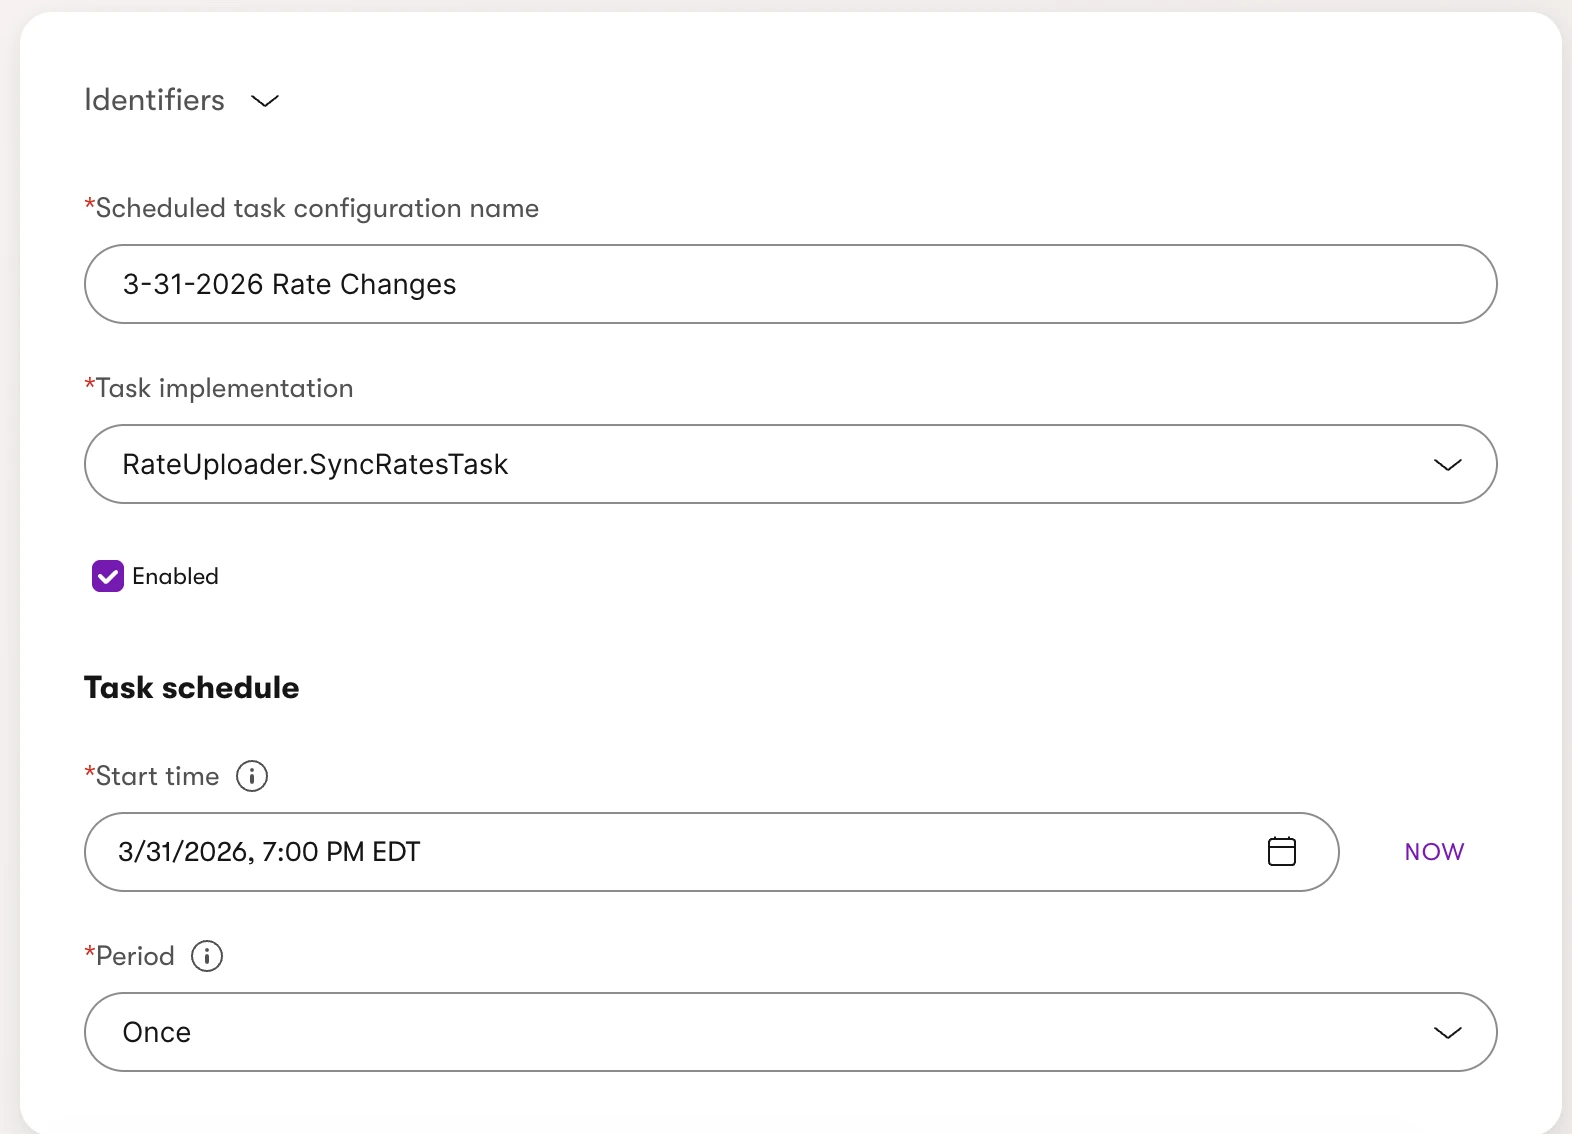
- Click New Scheduled Task Configuration
- Name it accordingly (for example: 3-31-2026 Rate Changes)
- Under Task Implementation, select RateUploader.SyncRatesTask (it should be the last item in the dropdown)
- Ensure the Enabled box is checked
- For start time, select the date and time that you would like the rates to go live.
- As a reminder, all times are in the user's local time zone.
- For Period, select once.
- Here is an example of what your scheduled task configuration should look like
- Click Save
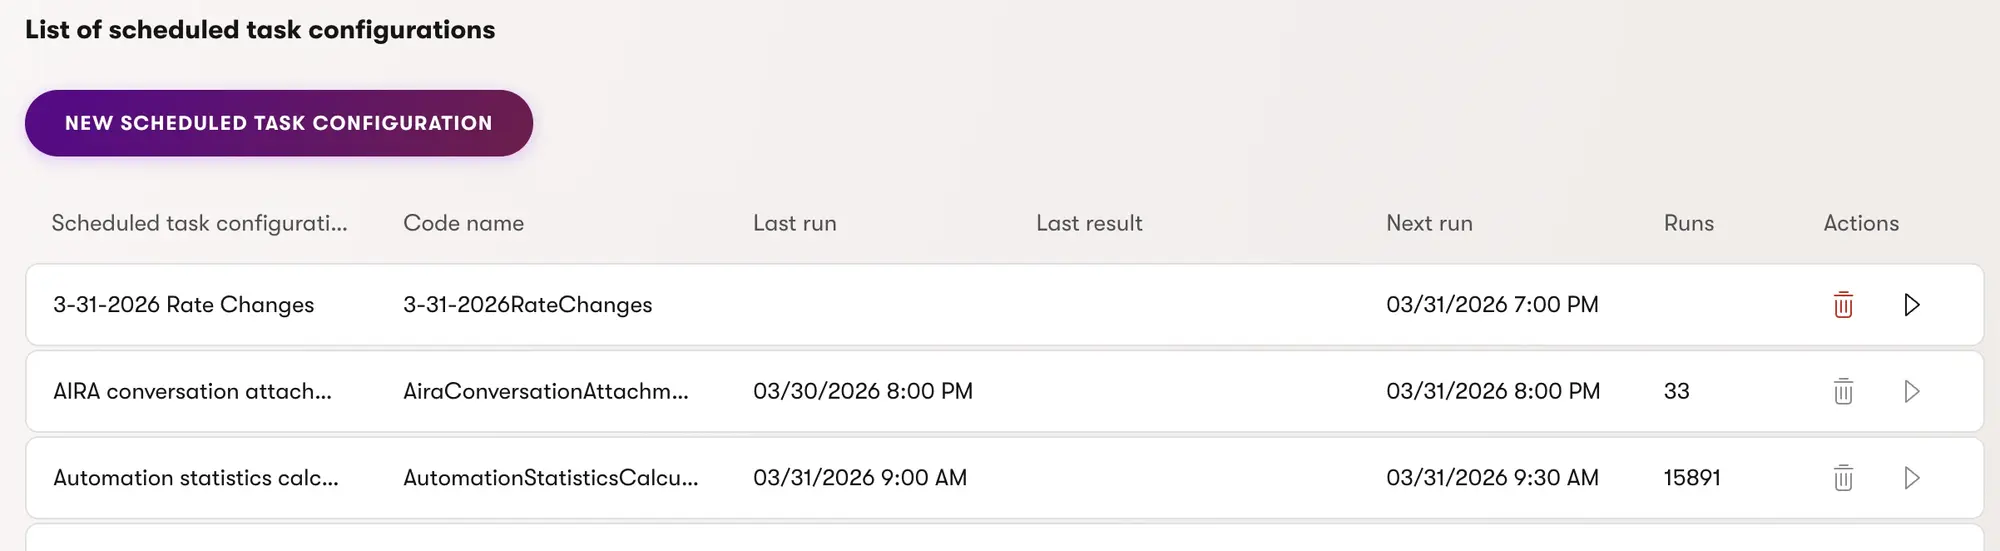
- Navigate back to the list of scheduled tasks and confirm that your new task is showing in the list.
- If you need to edit a task after it has been scheduled, it is best to delete the task and create a new one.
- Once you have completed uploading all CSV files/rates tables as needed, go to Development > Scheduled Tasks